Work with your hands
When cooling wort with my countercurrent exchanger, it’s important to know the temperature as it comes out. The goal is to bring the wort to the optimal temperature for pitching yeast as quickly as possible. Many commercially available chillers have a thermometer at the wort outlet for this reason. I improvised during my last brew session because I didn’t have time to get the thermometers working. The Saints were doing terrible today, so I turned off the game and worked on getting the thermometers on my exchanger finished. All I really need is to know one temperature, so naturally I installed four thermometers. Yes, four. I’m nosy and I want to know them all.
This is about more than validating the name of the blog. The energy balance for heat exchange looks like this:
$latex
\dot{m}_{A} c_{p,A} (T_{A,out}-T_{A,in})
=
\dot{m}_{B} c_{p,B} (T_{B,out}-T_{B,in})
&s=3
&bg=ffffff
$
So, doing a heat balance on the exchanger requires the inlet and outlet temperatures of both streams, their heat capacities, and their mass flow rates. I may make full use of this later, but for now I can use the change in the temperature of the water to know how I’m doing with the trade off between efficiency and time.
I had already installed my trusty OneWire thermometers in-line on the wort inlet, wort outlet, water inlet, and water outlet when I built the exchanger. They’re the black cables leading into the compression fittings.

I just needed a way to talk to them. Enter the custom microcontroller with a NRF24L01+ breakout board.

I posted about this little board a while ago. I originally intended it to control a valve with a stepper motor, but that was a bust. I’m going to redesign the valve, but this little prototype still needs a home. Fortunately, it has everything needed for the exchanger: the radio breakout board to communicate with another device and an exposed header that is compatible with a OneWire network.
 One step I’d skipped thus far in my misadventures is the experience of soldering my own perforated boards, but it finally came up. I’ve tried before and it was always a mess because I didn’t take the time to do it right. It’s easier to design the circuit on a breadboard, build the board in Eagle, and have it fabricated. I needed a way to connect all the thermometers to one header on the board. It wasn’t a big enough problem to design a whole board, but I did want something nicer than a bunch of spliced wires. I finally unpackaged a small perforated board and soldered a bus board.
It seems pretty pathetic, but getting wire to stay in place while you solder across pads is annoying. Still, a little tape and a nice pair of needle nosed pliers go a long way. I’m not about to start soldering circuits more complicated than this simple header, but it’s nice to know I can manage not to fail miserably if the need arises.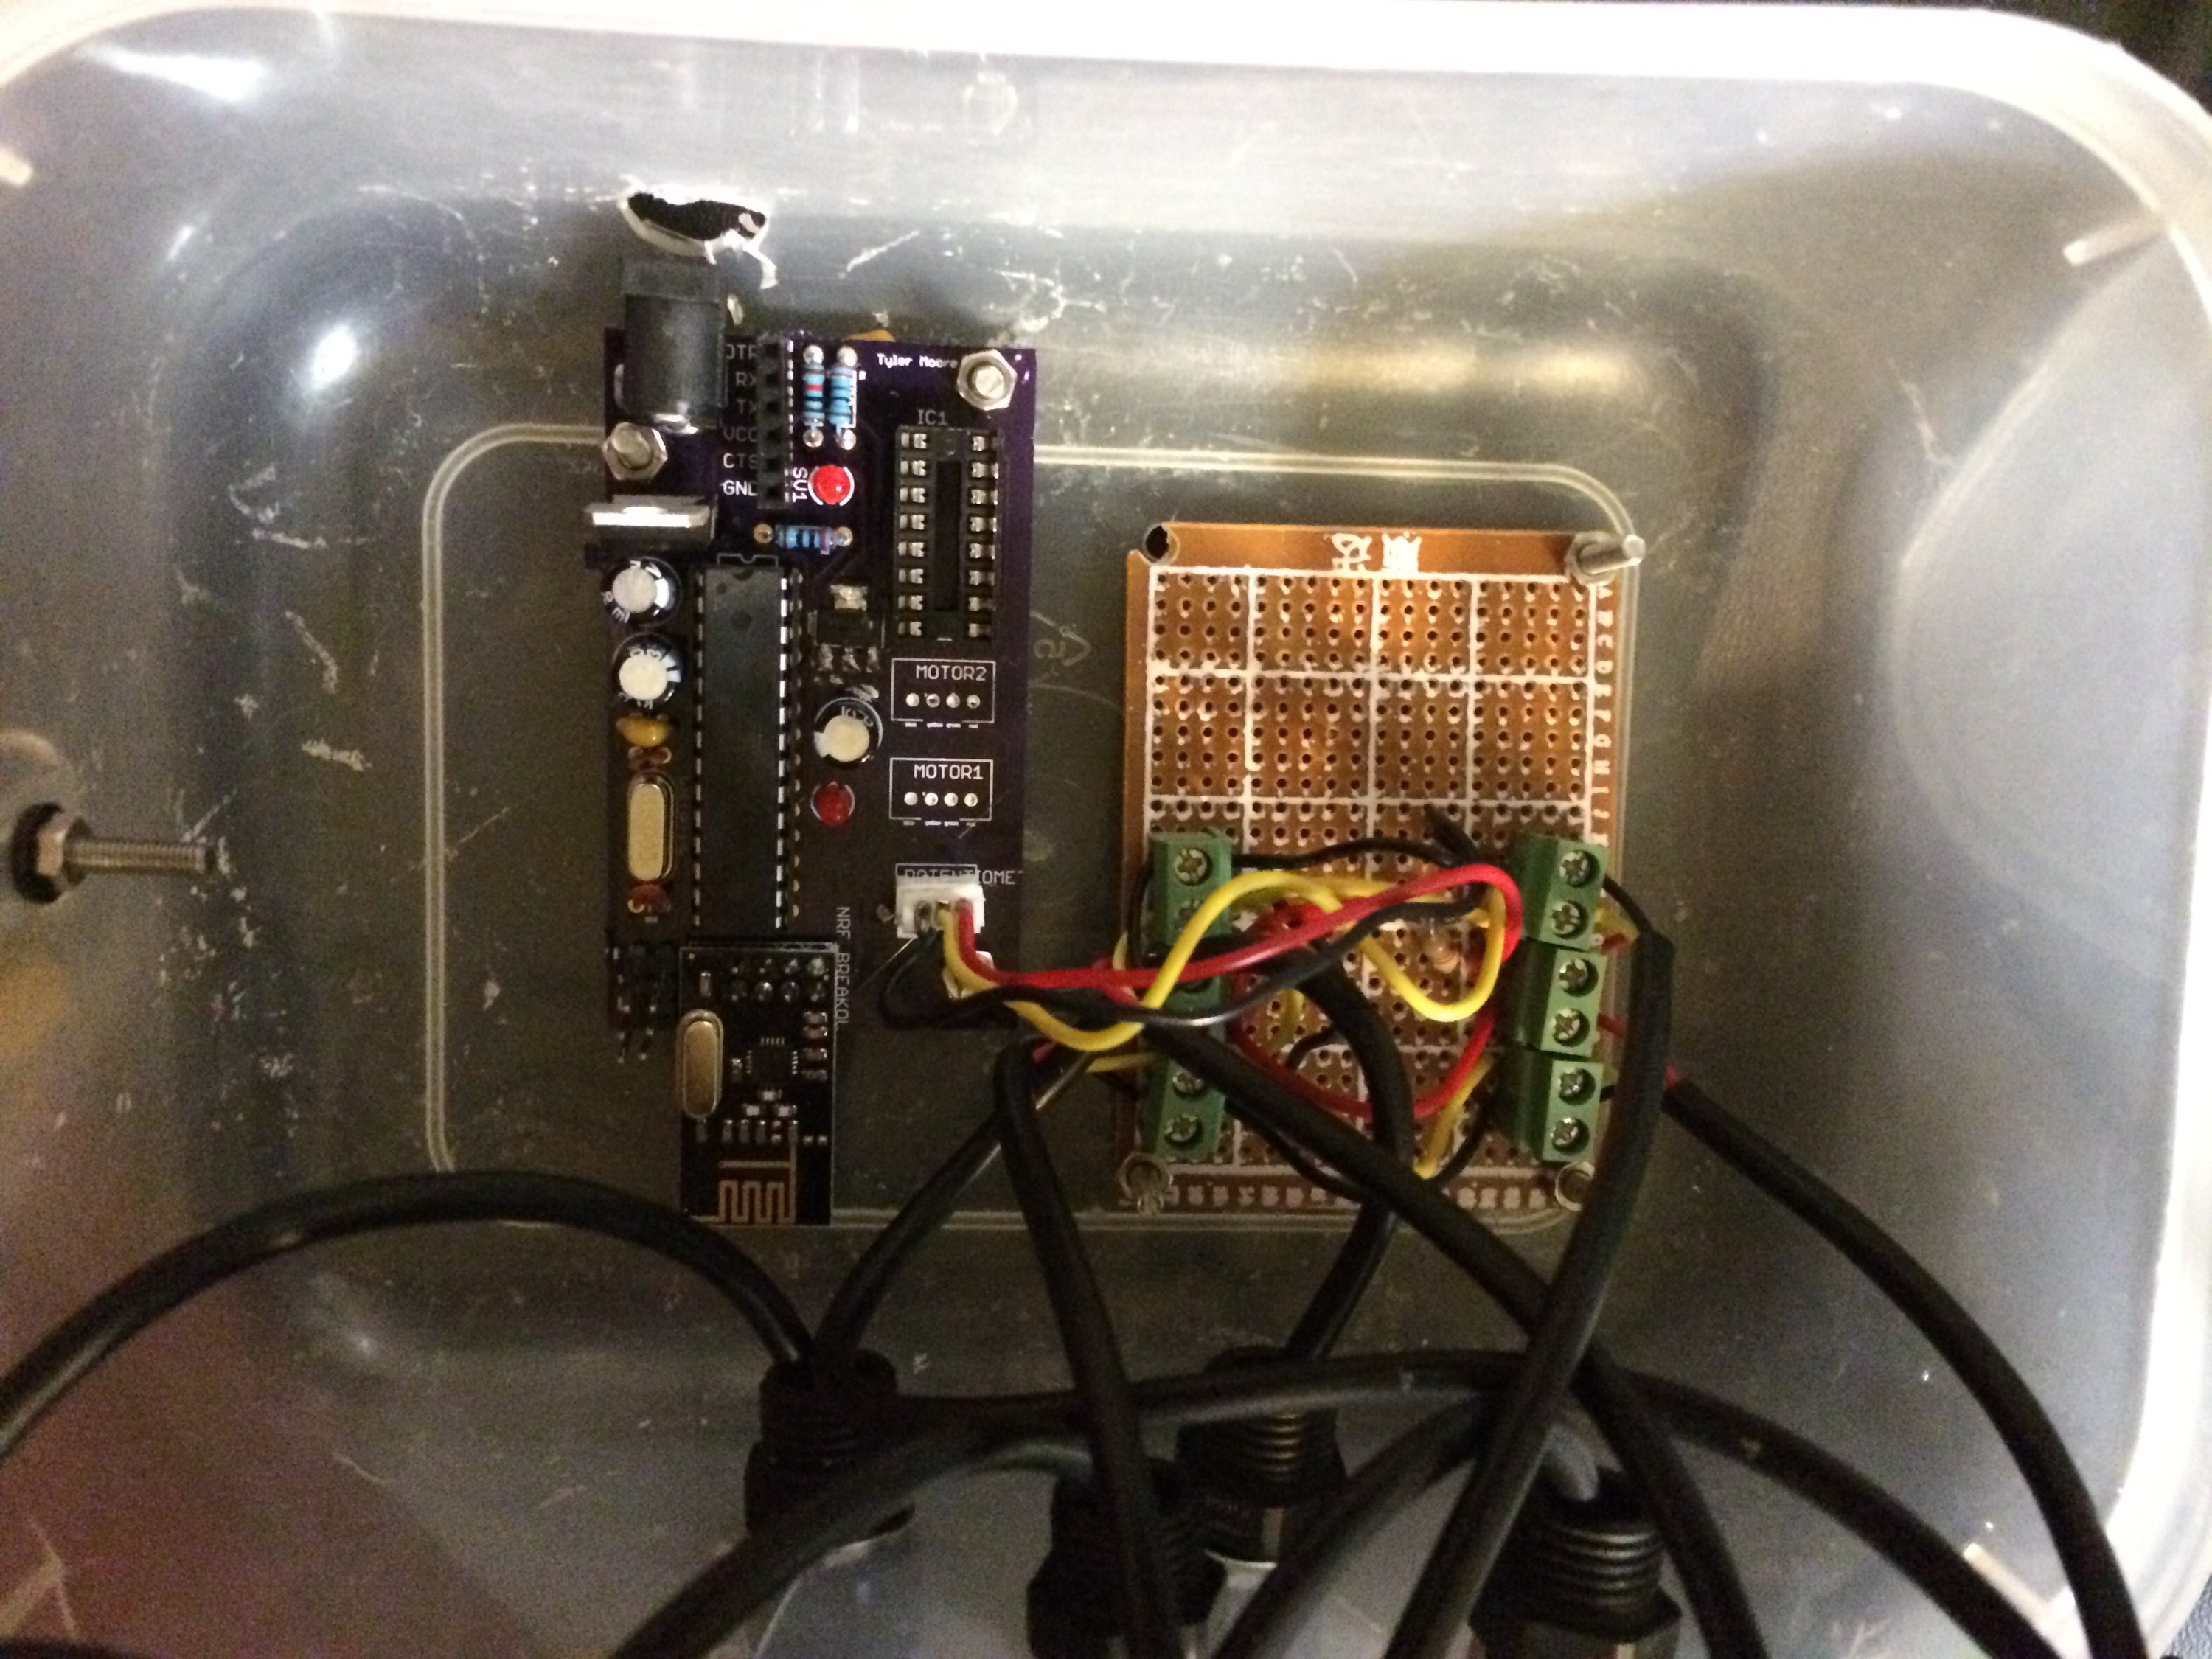
I destroyed yet another old tupperware to make a case, bolted in the custom board and the hand-made header, connected the thermometers, and fastened it to the exchanger. All thermometers were go and radio communication was smooth. The next brew day will be a bit more convenient.
