3D Printing is Dead! Long live 3D Printing!
Background
My 3D printing hobby started during residency. The work I did for this (see our unpublished paper) occurred around 2013-2014. At the time, 3D printing was becoming very popular, and many institutions were looking for novel ways to apply it in medicine. Once that project concluded and I gave the MakerBot back to the principal investigator, I got my own printer and have made a few interesting things.
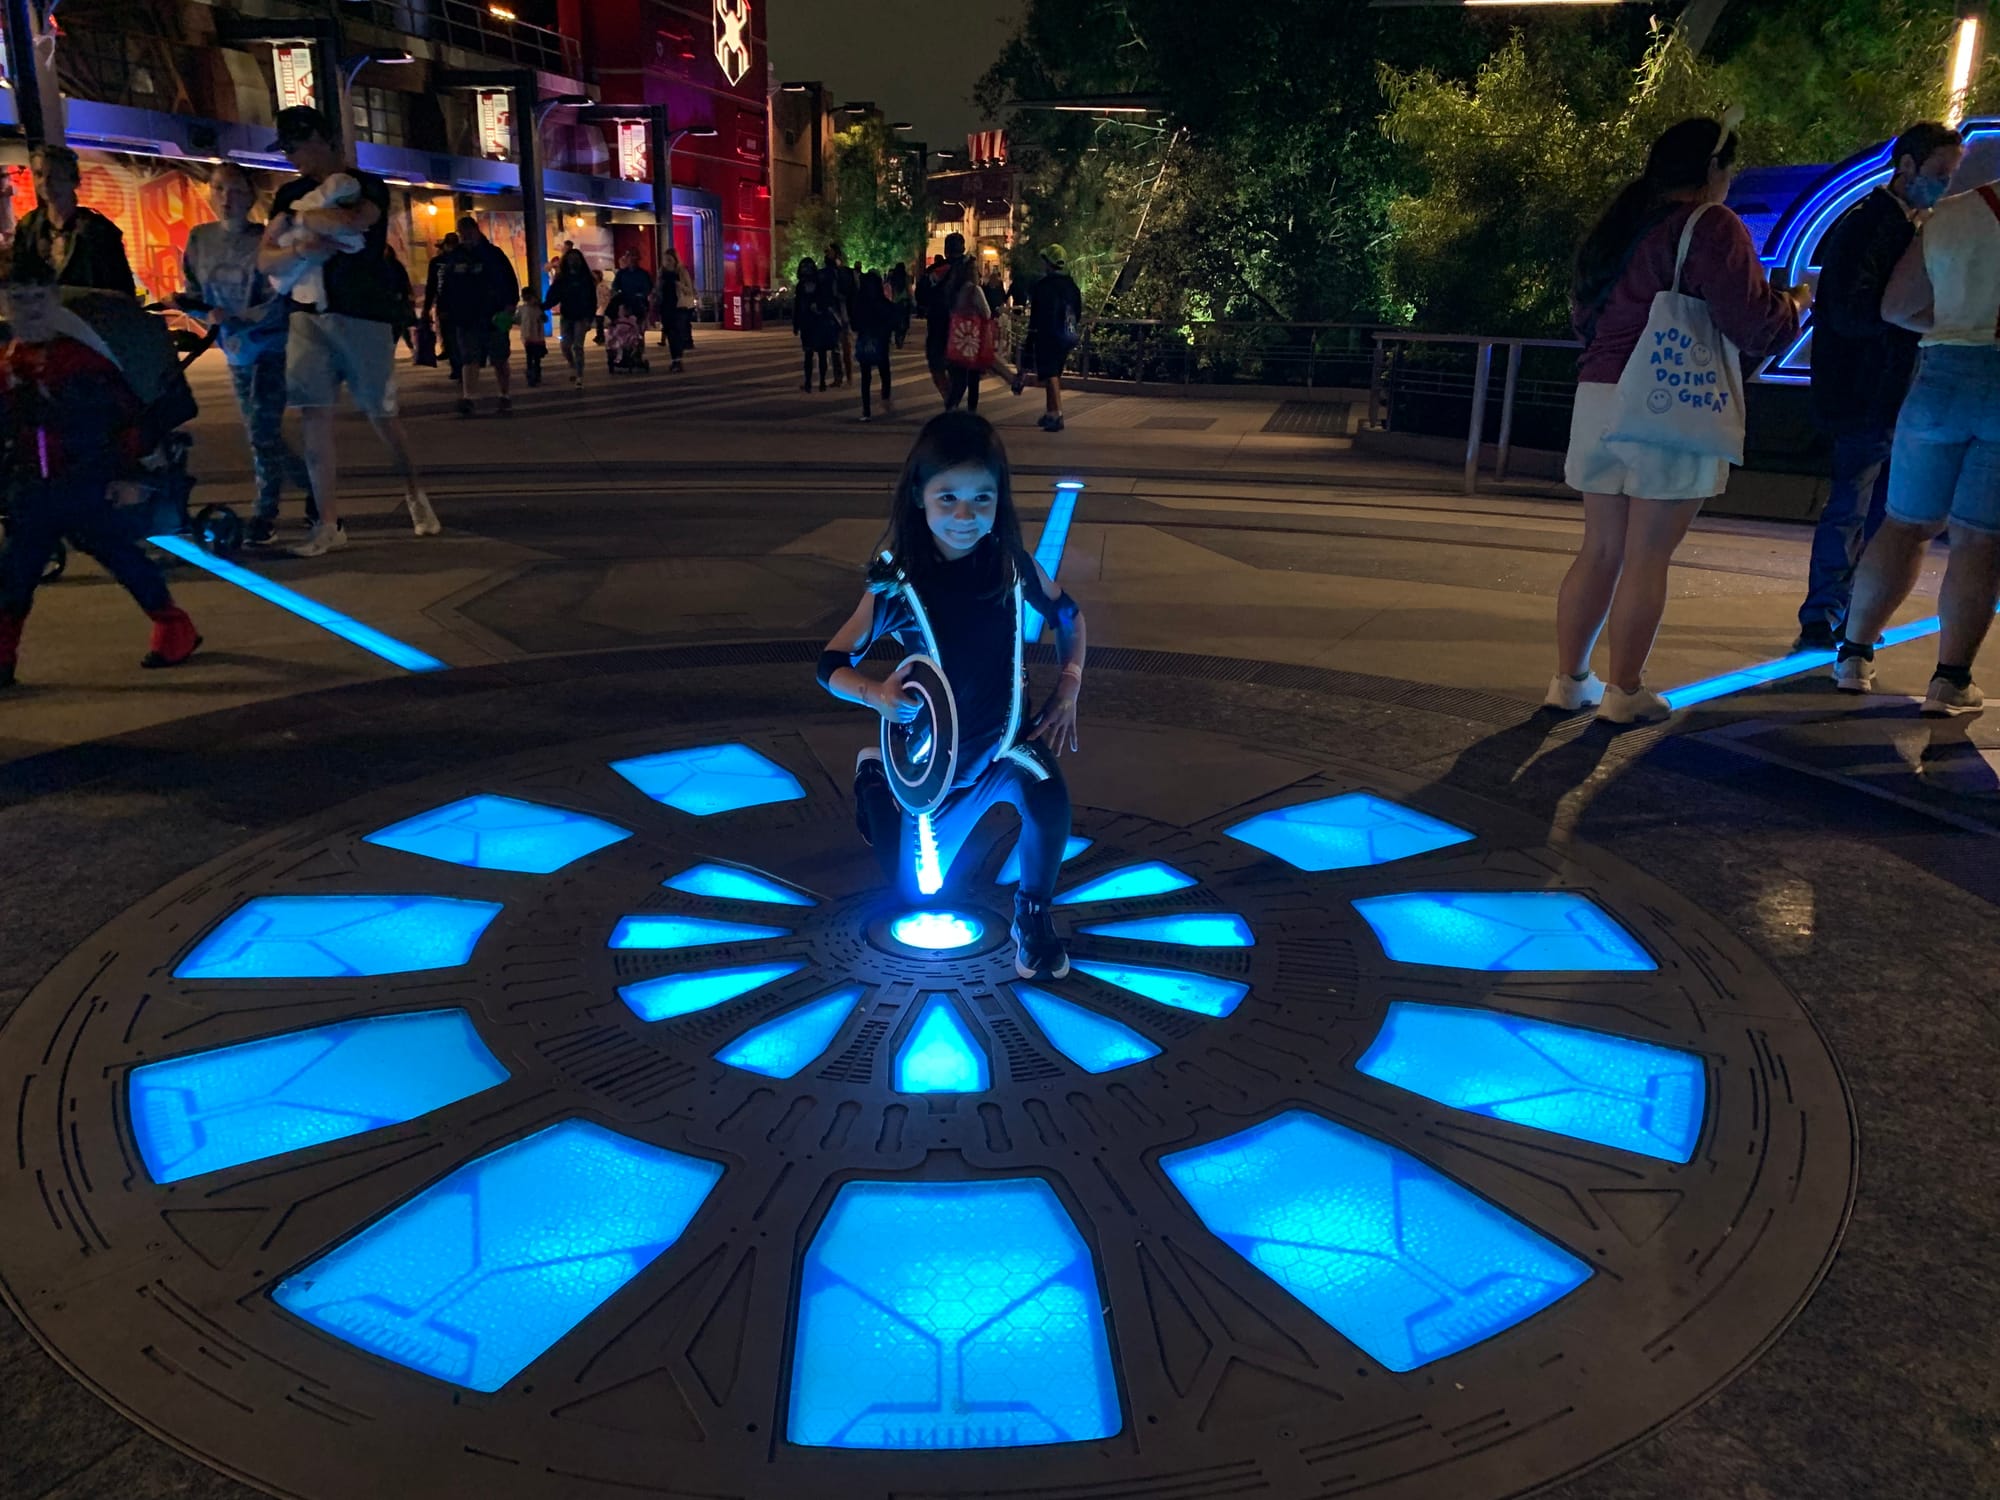
Second to those hearts, the most printing I've done were for our family Tron Legacy costumes. The discs were 3D printed and internally lit with LEDs. I think this project required over 300 hours of printing. It culminated in an epic Halloween trip to Disneyland for the Oogie Boogie bash!


That year was also our most ambitious hype video.

In recent years, I've scaled back and have really only used our printer to fabricate enclosures for electronic projects such as this and this. While I enjoy the CAD part (especially OpenSCAD, which makes CAD a programmatic process), the printing part became a drag. This is in part because I've been using a low end printer, in part because I only do it every year or two, and in part because it really is a difficult thing to do. 3D printing is a tenuous process. It's a labor to get the bottom layer to stick to the plate. If there is any problem during the hours-long process, all you get for your time is a piece of plastic junk to discard before you have to start all over again. I took many of the steps required to make printing more reliable, such as attaching an adherent layer to the print bed, frequent printer head leveling, a printer enclosure to stabilize temperature, printing outside to mitigate the potential for a fire, and monitoring using OctoPrint on a Raspberry Pi. At best, it was a huge investment of time to get a print done. At worst, it was clear I should have fabricated the enclosure the old-fashioned way: drilling holes in generic plastic boxes.
Recently, I had a project that caused me to reconsider my approach to 3D printing.
Keeping Cool
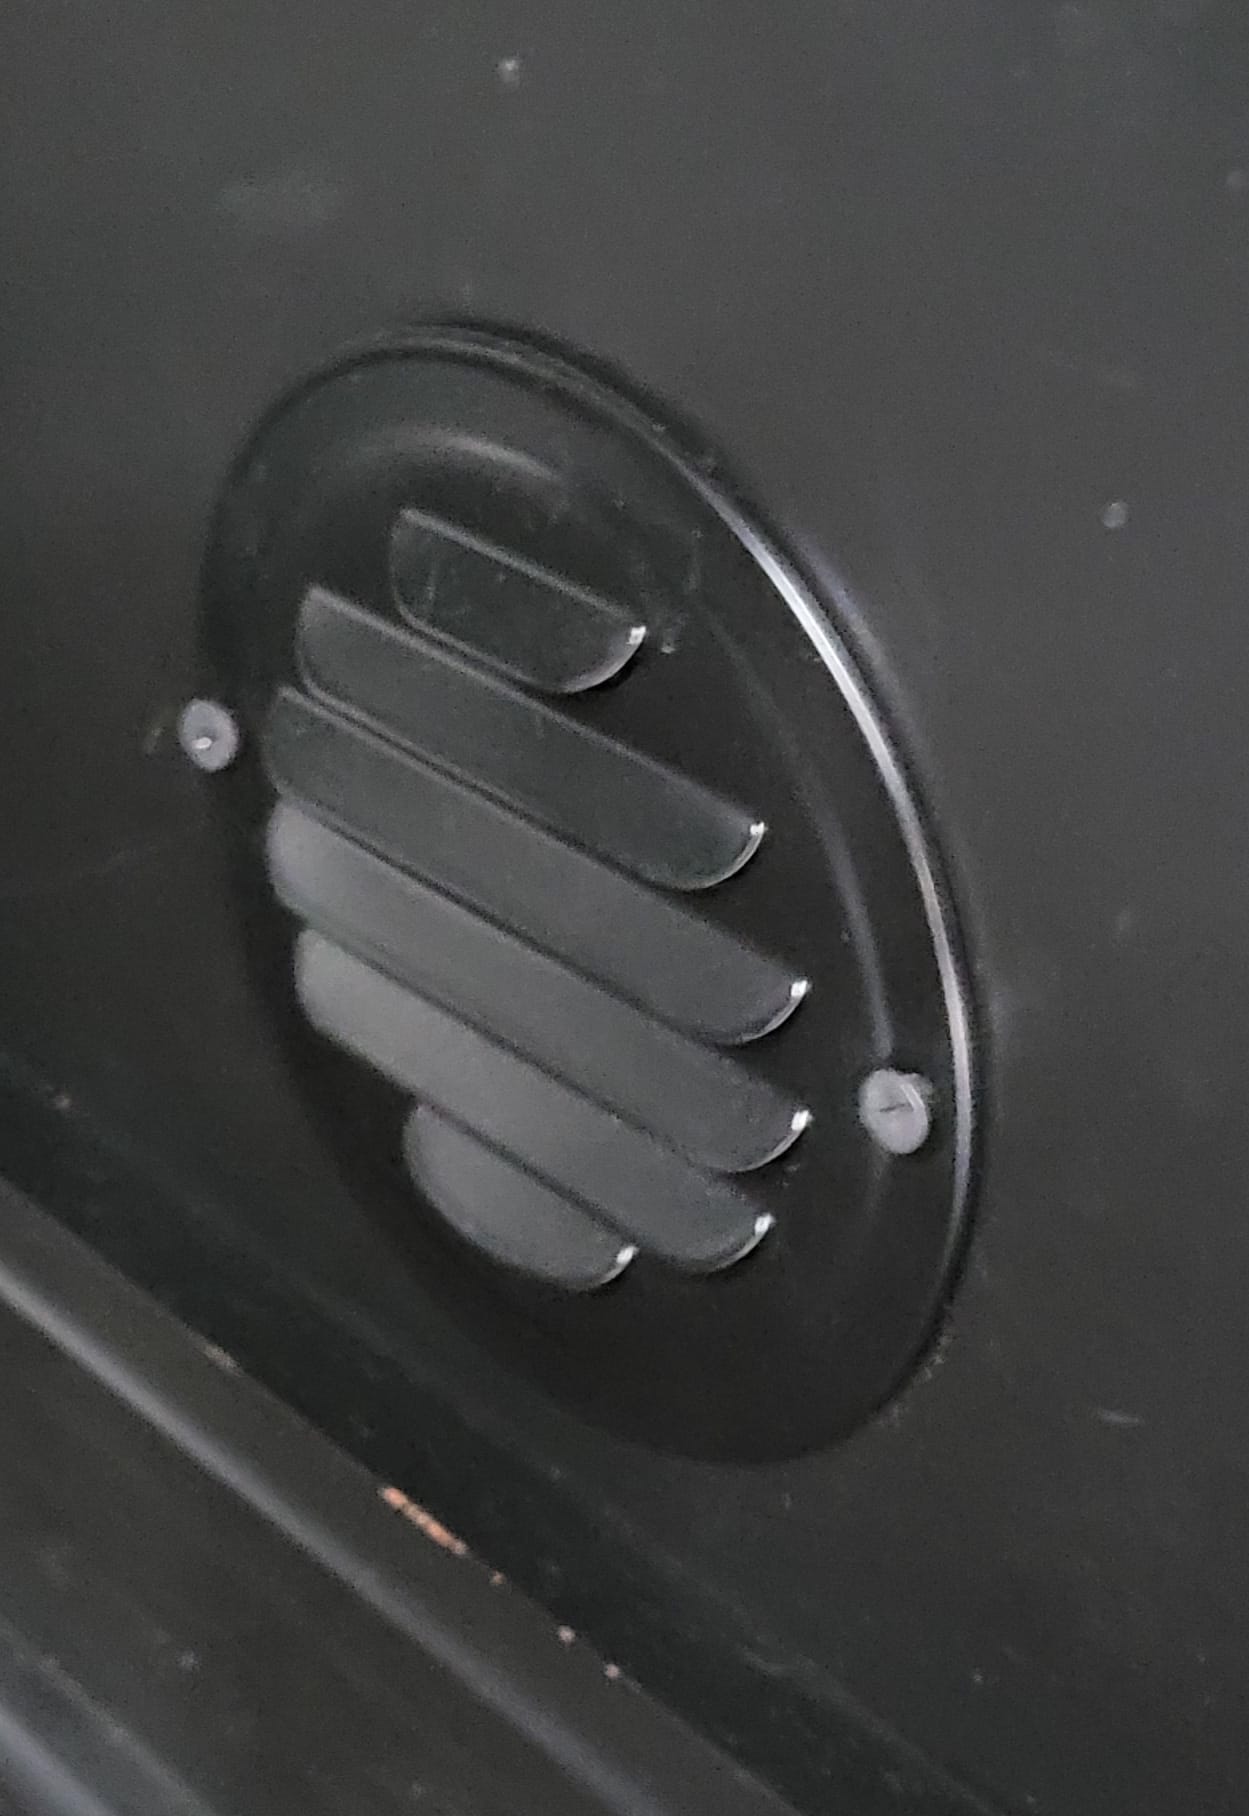
Since we moved into the new house, I've wanted to install cooling fans in a cabinet that stores the workstation for our home office as well as a WiFi AP. The cabinet doors close and, although there are holes for wires, they don't provide enough airflow to keep the cabinet cool. If the doors were closed, the workstation would quickly overheat and shut down, so we had to leave them open all the time. I knew that the only way to reliably close those doors was to install a couple of cooling fans with a temperature sensor. I considered creating a board for this, but I've been trying to handle home improvement projects with a simpler approach. I installed some fans with grates to make it look nice, picked up a generic temperature controller, and plugged it all in.
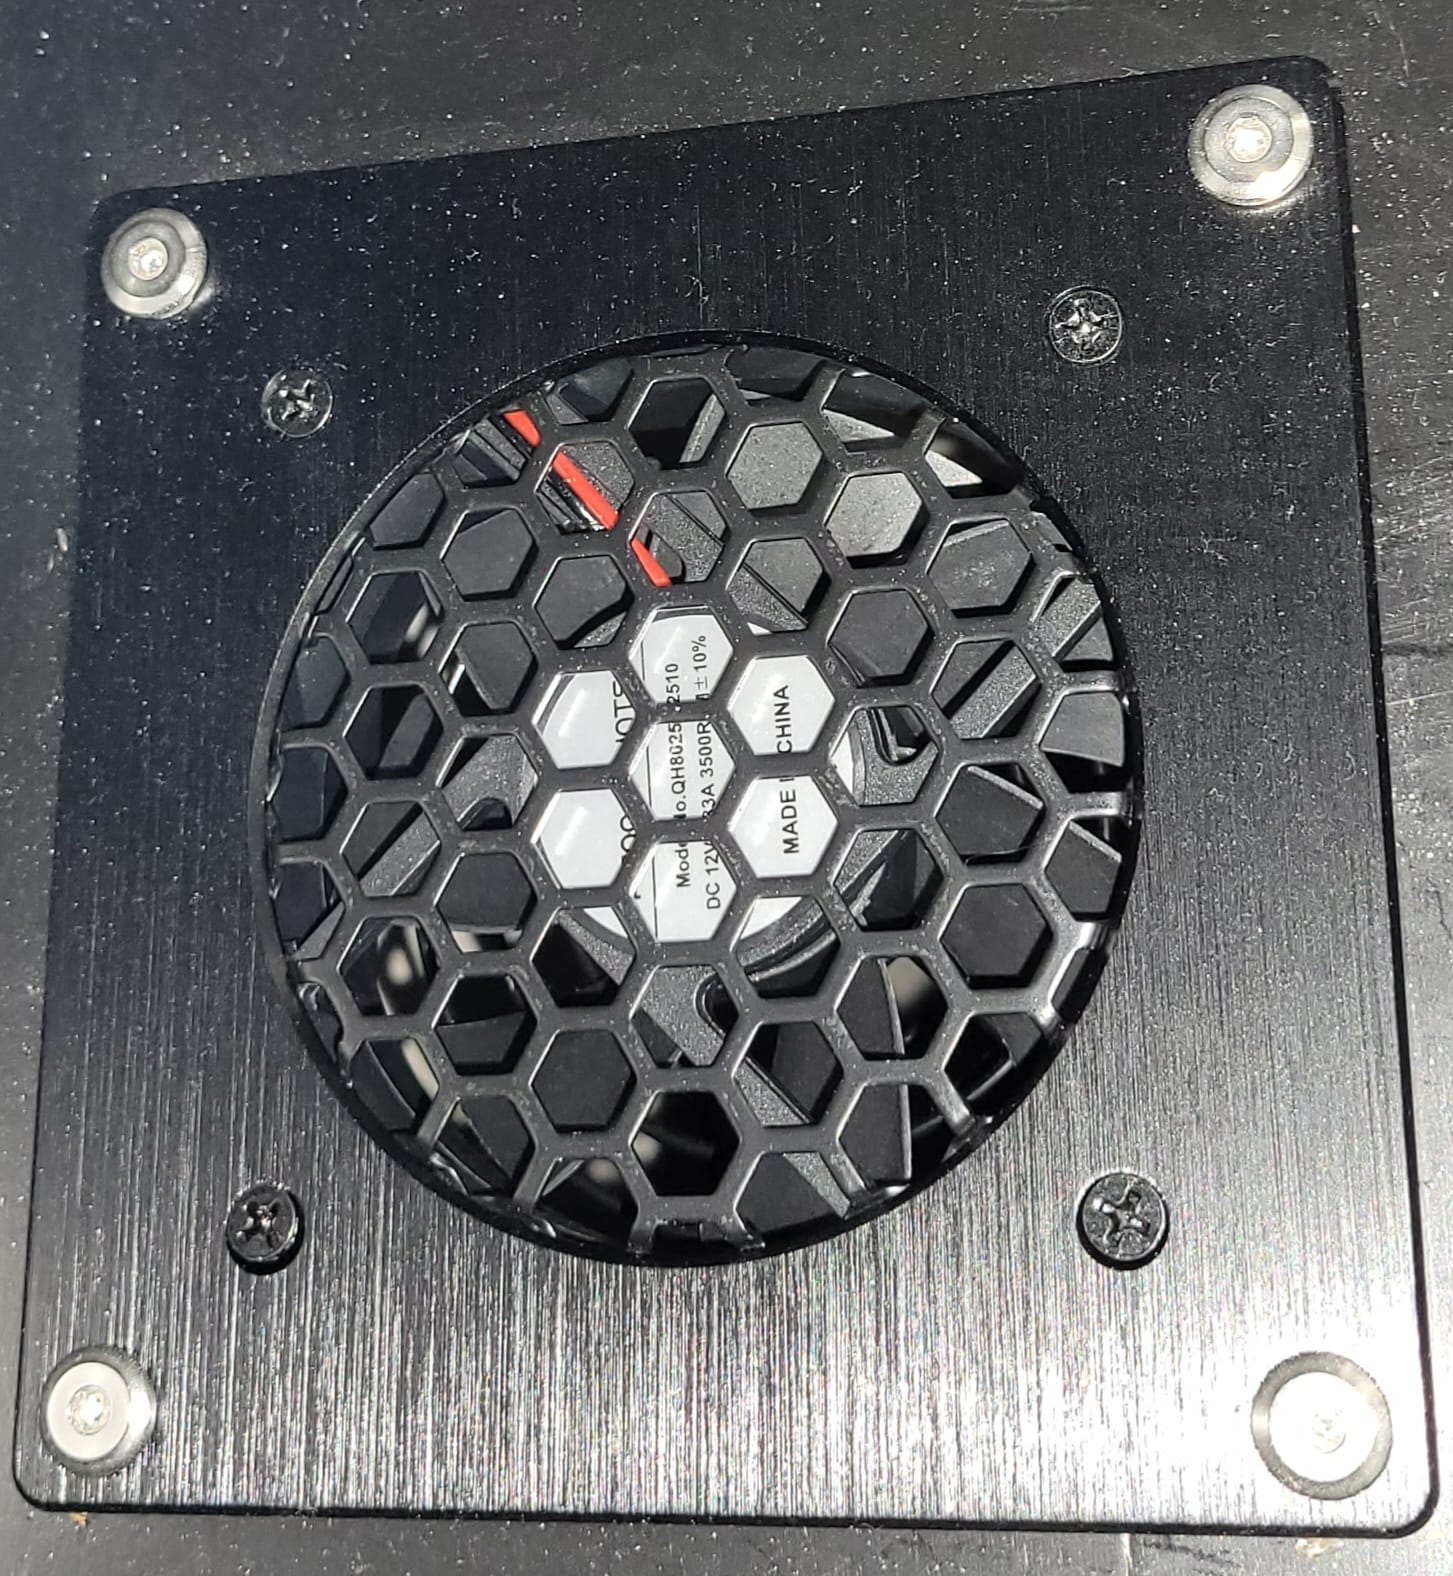
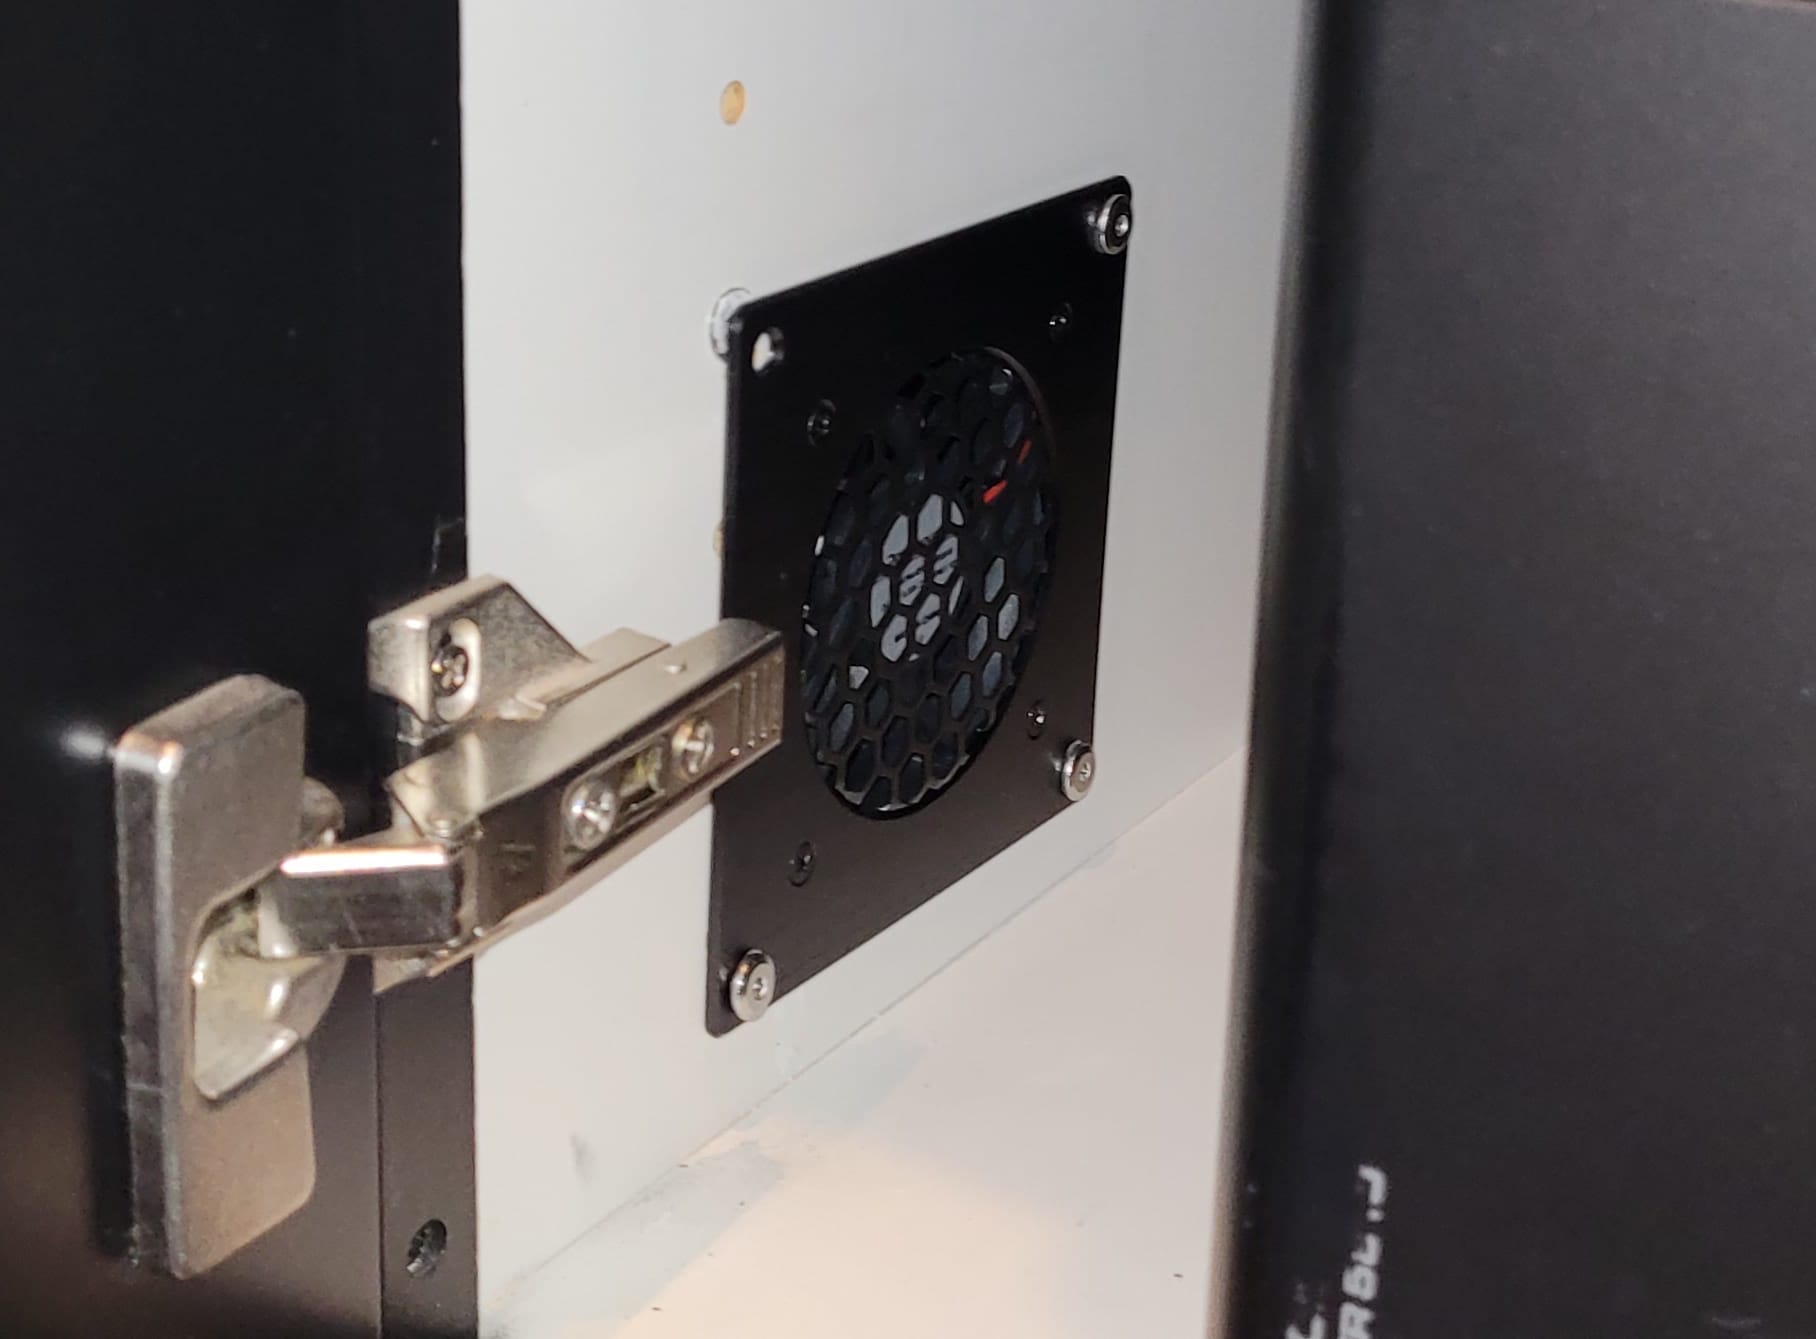
Fans with nice grates
It was awful. The problem was the controller. It used a simple mechanical relay to turn on the fans when the temperature increased beyond a threshold, and cut them off when it decreased below the threshold. The relay made a disturbing loud crack when it switched, and the fans sounded like a tornado when they were at full power.
A better way to handle this is with a PID controller. This is a common but very useful general approach to controlling some input by changing an output. In the case of cooling fans, the idea is to slowly adjust the power to the fan until it the temperature in the cabinet reaches equilibrium at the desired set point. PID controllers achieve this by comparing the input value to the desired set point and keeping track of the proportional error, the time integral of the error, and the time differential of the error. Thus, it's a P(roportional) I(ntegral) D(erivative) controller. The most useful part turns out to be the integral component. The proportional and differential components are helpful to allow the controller to respond more quickly to sudden changes in the error, but it's the integral component that slowly brings the controller to equilibrium. I still remember learning this insight from my dad when I was in college.
Fantastically, ESPHome has an excellent implementation of PID within its thermostat control, and you can even adjust the controller coefficients to tune the controller. There's also an autotune feature! Even though I didn't need or want internet connectivity for this very simple device, this implementation in the ESPHome ecosystem made the trusty ESP8266 the best choice for the job. Here's the ESPHome configuration required to get this board working:
esp8266:
  board: esp01_1m

sensor:
  # The fundamental sensor that detects the voltage at the ADC pin
  - platform: adc
    id: source_sensor
    pin: A0
    update_interval: never #only updated in the function below

  # The secondary sensor that converts the measured voltage to the resistance of the variable resistor
  - platform: resistance
    id: resistance_sensor
    sensor: source_sensor
    configuration: DOWNSTREAM #Variable resistor is downstream of the static resistor. This generally *must* be the case because esp ADCs detect 0.0V to 1.0V.
    resistor: 39kOhm #The resistance of the static resistor
    name: Resistance Sensor

  # The tertiary sensor that converts the measured resistance of the variable resistor to temperature
  - platform: ntc
    id: thermistor_sensor
    sensor: resistance_sensor
    calibration:
      #Calibration of a random thermistor that came with a temperature controller
      - 10858.17578Ohm -> 18.88888889°C
      - 6174.211892Ohm -> 36.11111111°C
      - 3078.66002Ohm -> 47.77777778°C
    name: NTC Temperature

# Switch to supply power to the thermistor
switch:
  - platform: gpio
    pin: GPIO5
    id: thermistor_vcc

interval:
  - interval: 5s
    then:
      - switch.turn_on: thermistor_vcc
      - delay: 10ms #Make sure voltage stabilizes
      - component.update: source_sensor
      - switch.turn_off: thermistor_vcc # Allow the thermistor to cool down between measurements by cutting the voltage. A longer interval will improve this effect.

output:
  - platform: esp8266_pwm
    pin: GPIO04
    frequency: 100 Hz
    id: fan_pwm_output

#PID Controller
# Example configuration entry
climate:
  - platform: pid
    name: "PID Temperature Controller"
    sensor: thermistor_sensor
    default_target_temperature: 27°C
    #heat_output: heater
    cool_output: fan_pwm_output
    control_parameters:
      kp: 0.001 # 10°C of error will increase output by 1%
      ki: 0.001 # 1°C of error for 10s will increase output by 1%
      #kd: 0 #Derivative control usually isn't that helpful. Ignore in this case.
      #output_averaging_samples: 5      # smooth the output over 5 samples
I fabricated a small board for the microcontroller that would allow it to control the fans via PWM control of the power to the fan through a transistor.
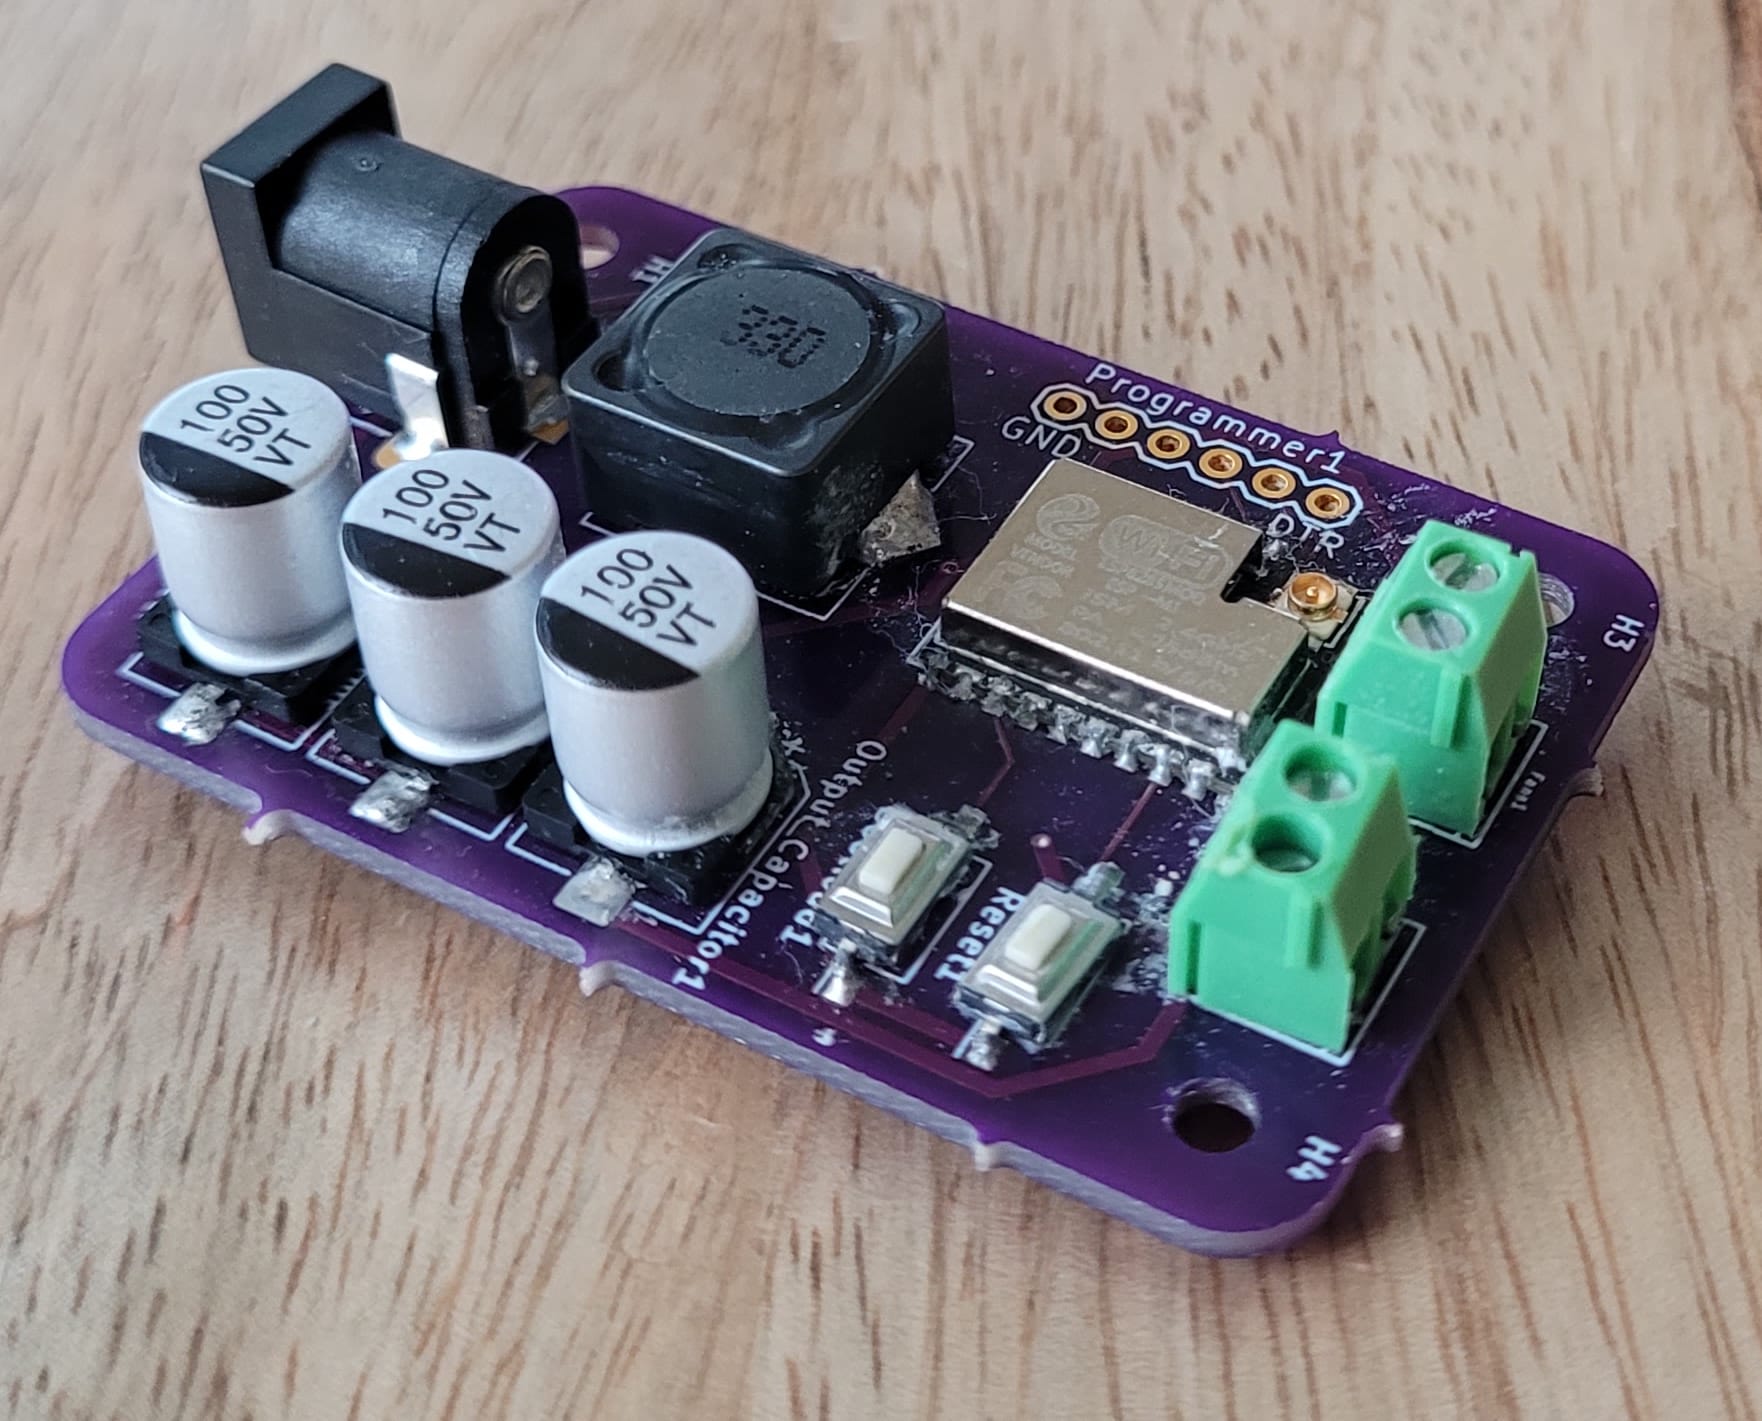
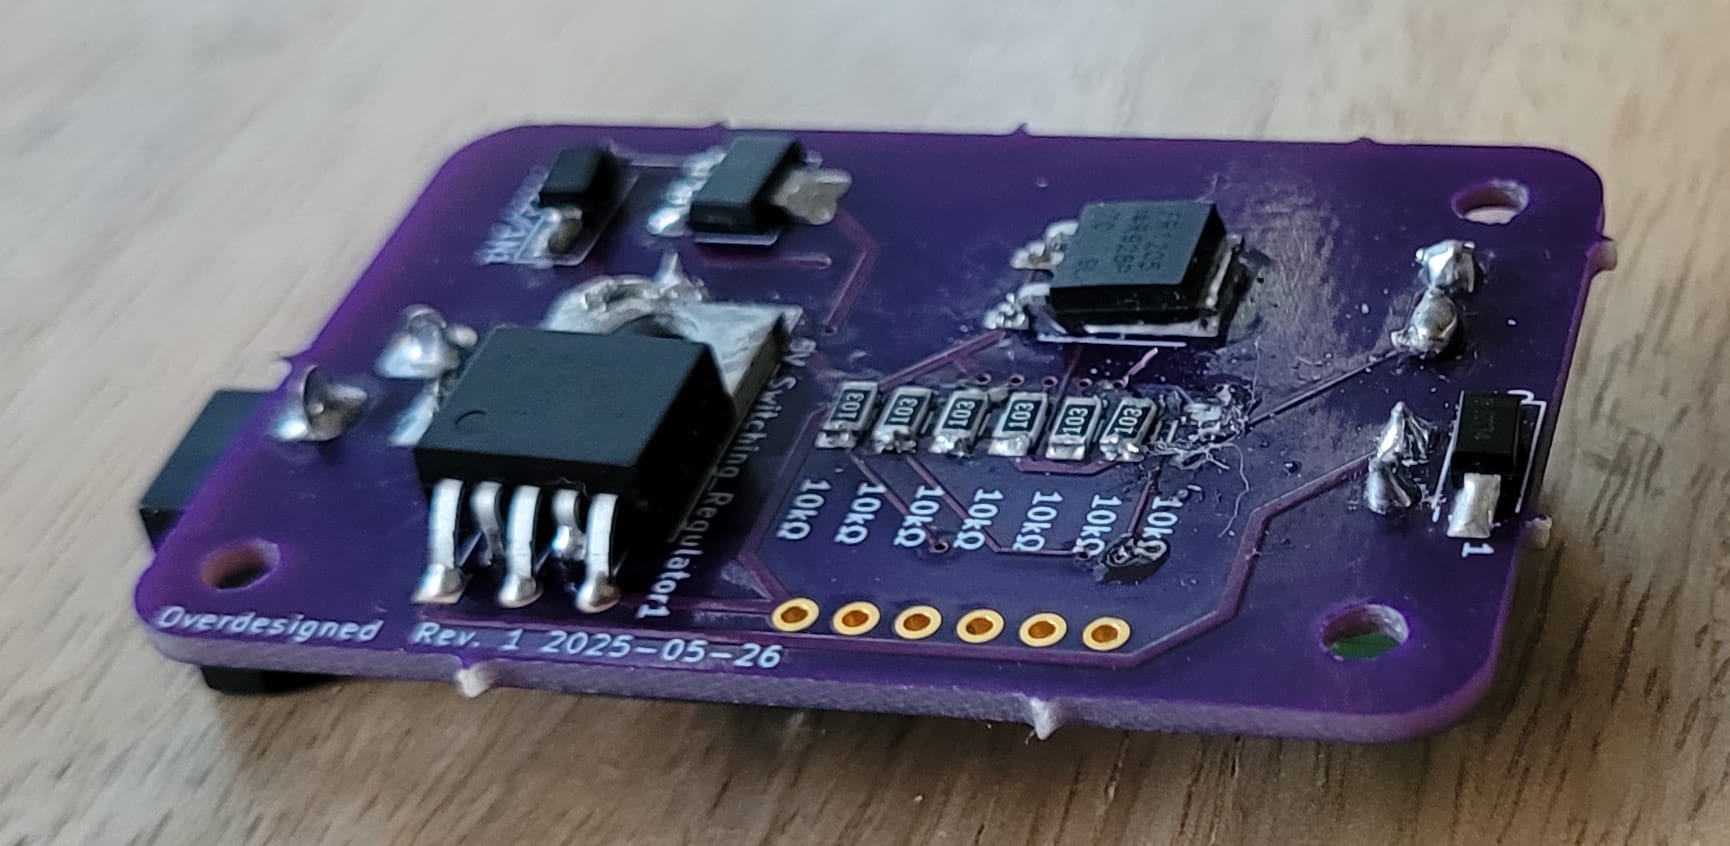
Now that I mostly use surface mount devices spread out on both sides of the board, my boards have become more compact.
All it needed was a nice enclosure to keep it tidy. Since I wanted to mount this nicely with plugs for all the components, I turned to my trusty CAD software and quickly had a nice design. Then, I tried to print it.
The Last Straw
This print proved impossible. I had a terribly difficult time getting the first layer to stick to the print bed although I used every trick in the book. After several attempts over two days, I finally got halfway through a decent print when the print head clogged. I completely disassembled it and tried acetone soaks, cold pulls, and brute force. Nothing worked; the plastic was cooked to the inside of the print head and could not be removed non-destructively. I was faced with a tedious repair or an expensive replacement.
I started researching options. I considered everything from hand-making the enclosure to a brand new, better 3D printer. During the search, I thought about how wonderful it would be if this were a service. Then, I wondered whether some company out there offered such a service. It didn't take much searching to discover that many did. I was so surprised. For years, I've listened to podcasts by 3D printing enthusiasts, and I'd never even heard of this. I checked out a few vendors but quickly settled on JLCPCB. When I realized that I could get an SLA enclosure of my exact design at a very reasonable price, I knew I had to give this a try. The results were astounding.
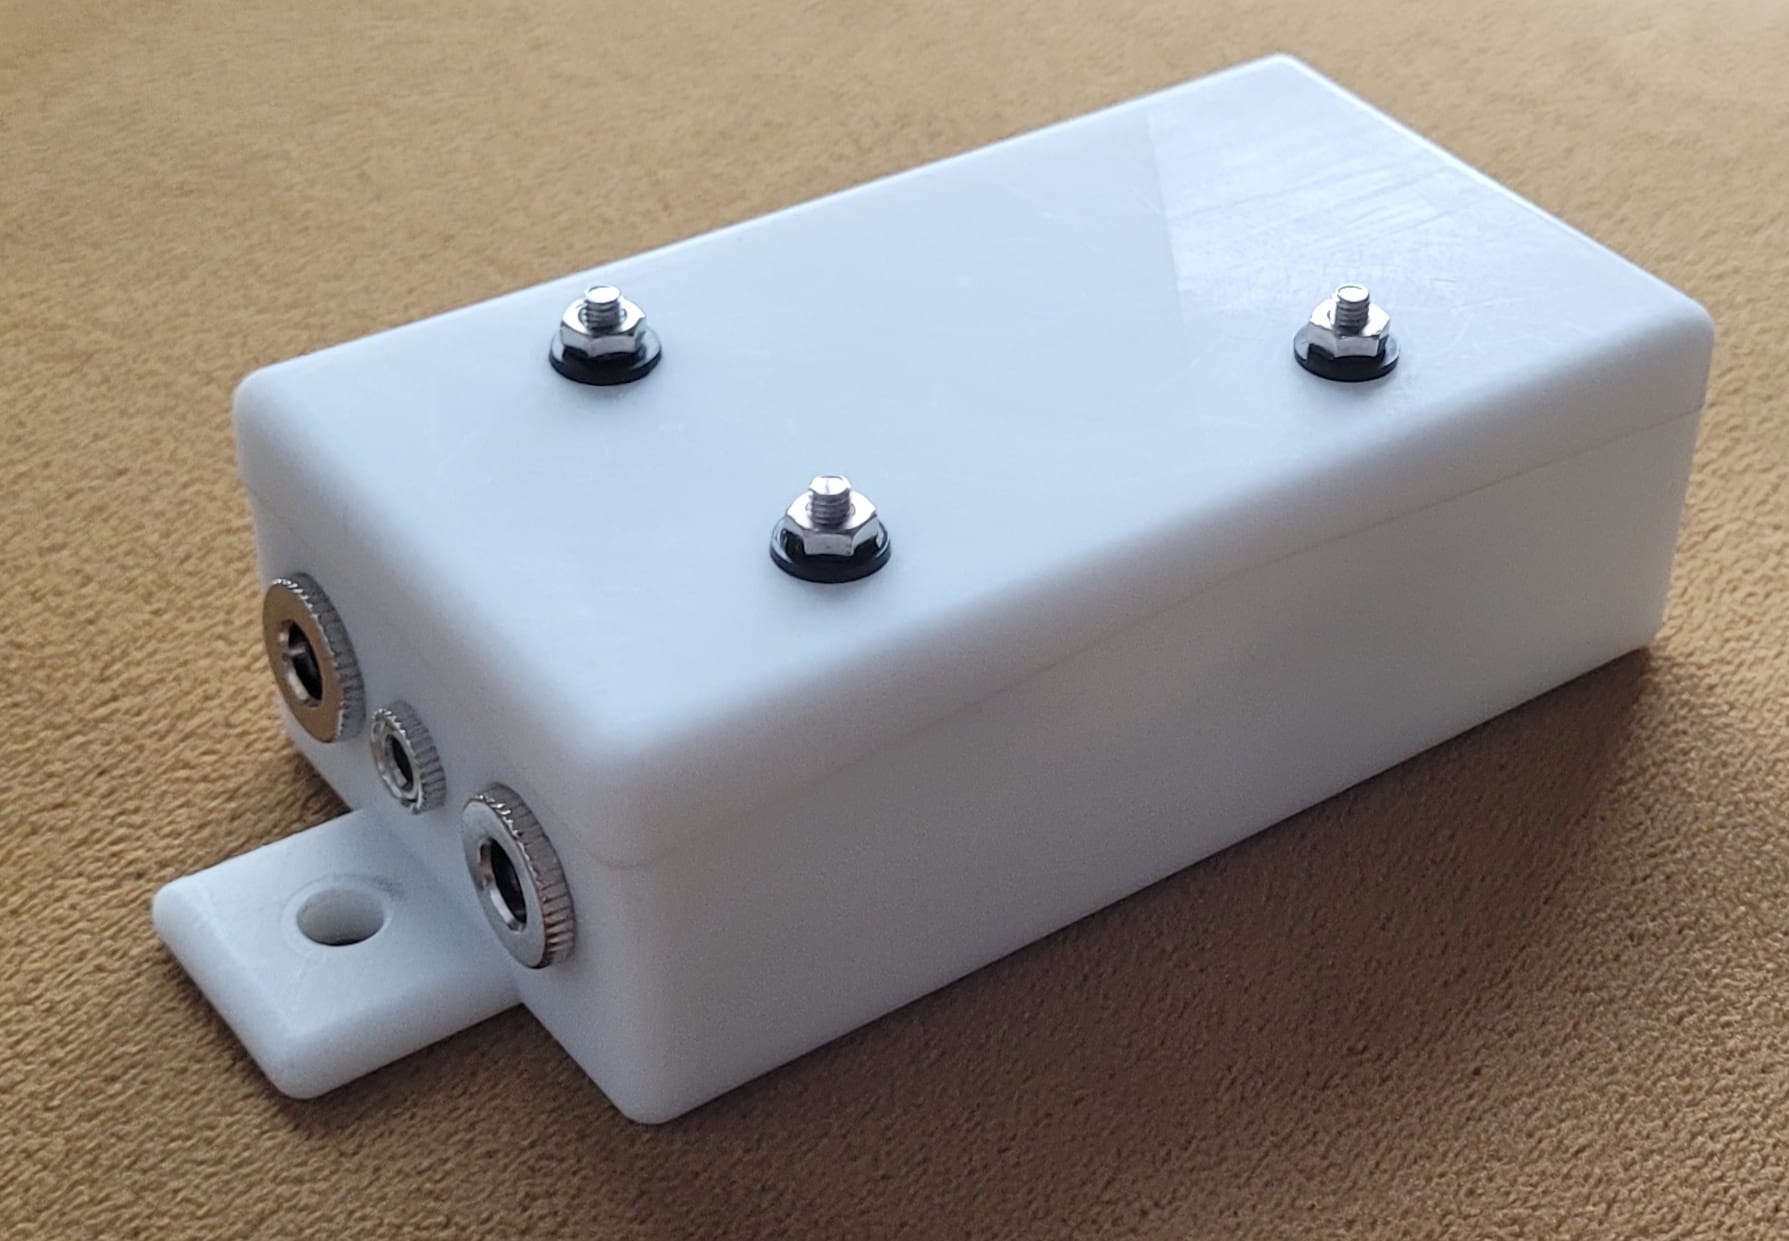
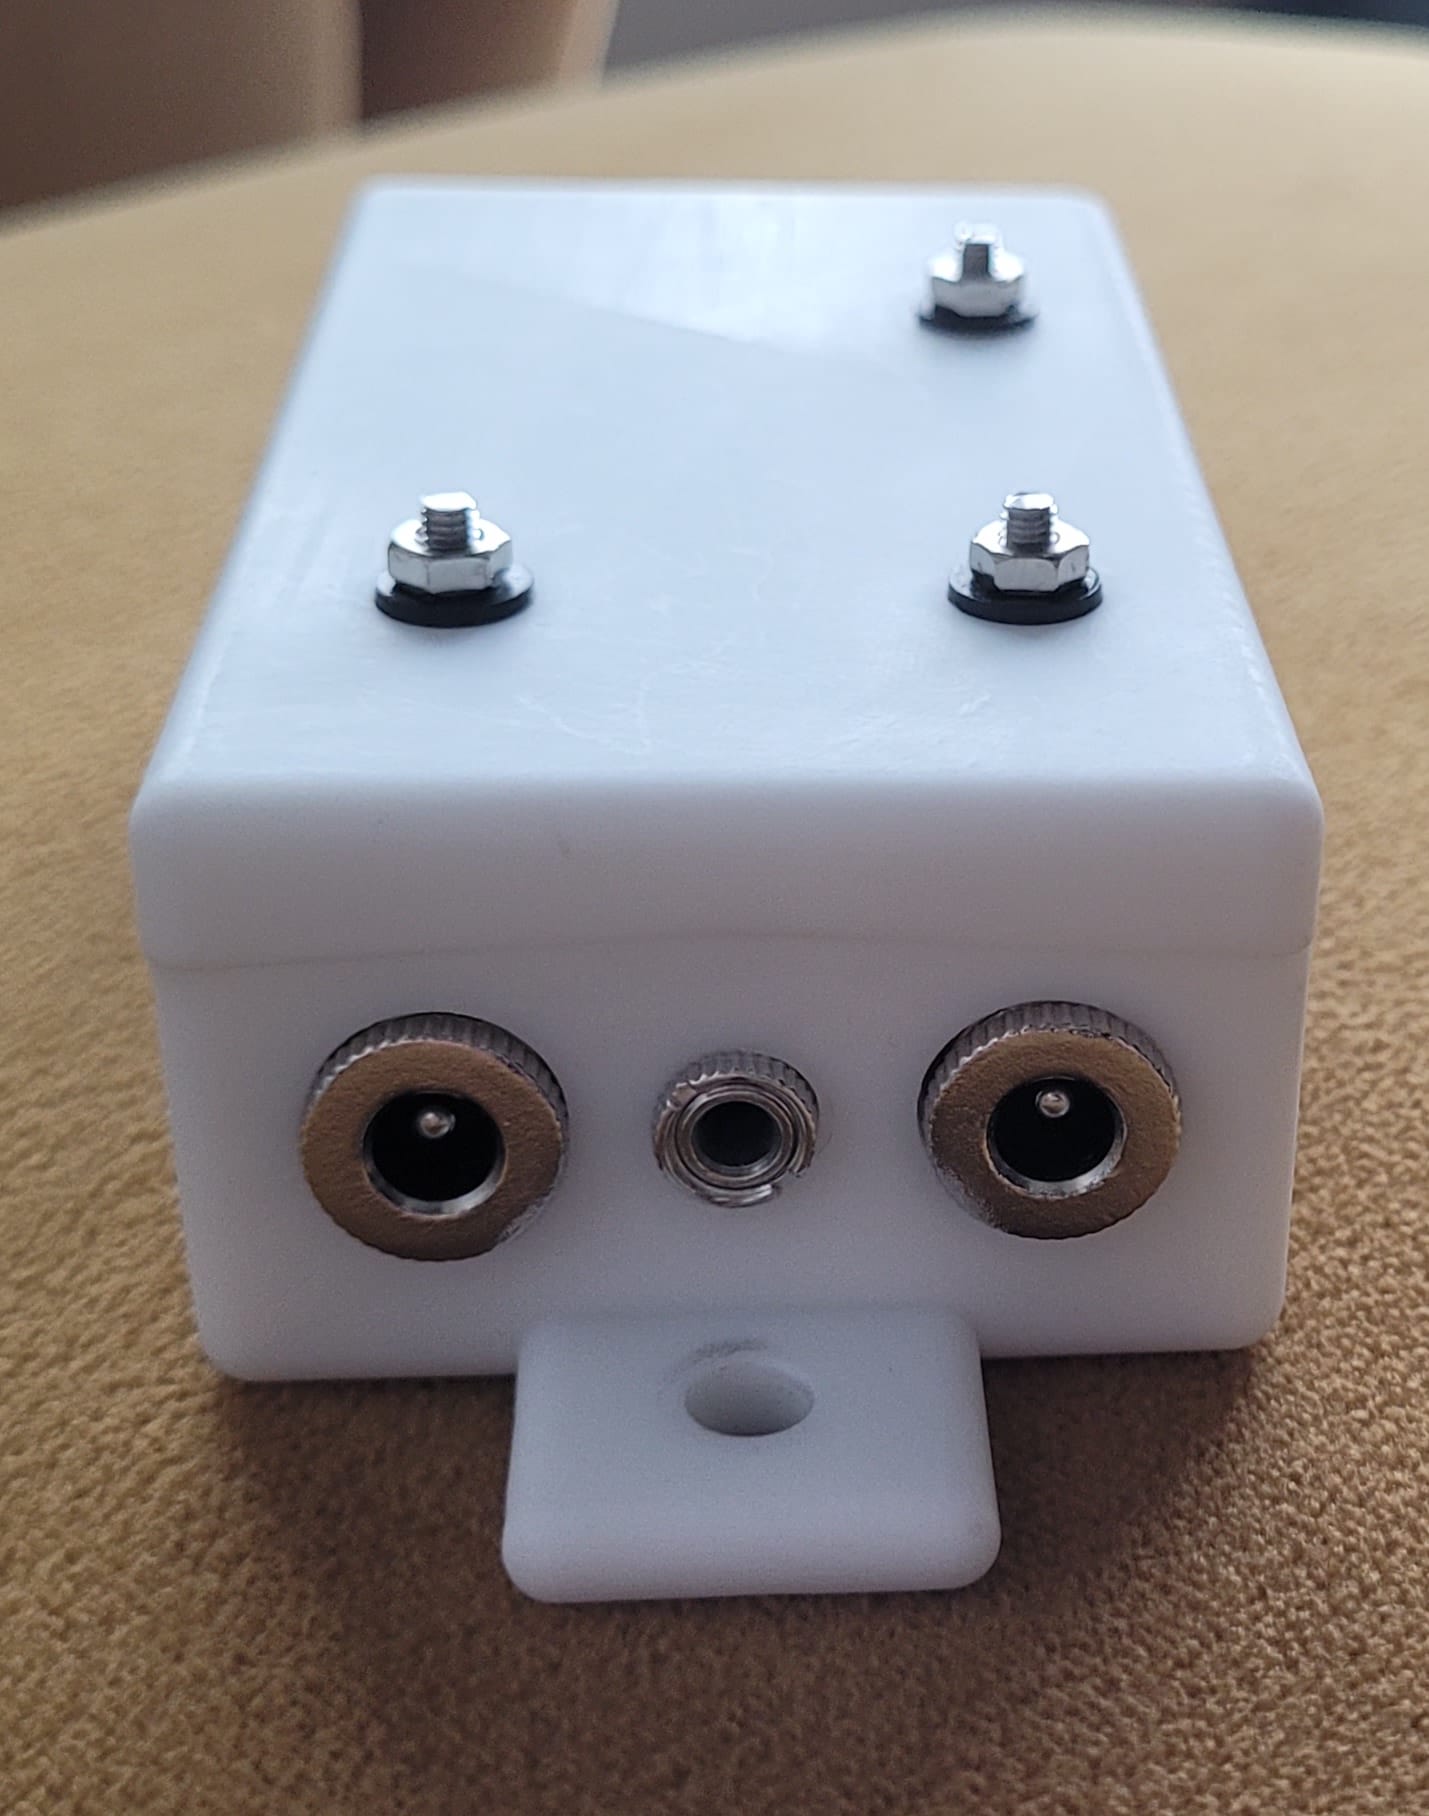
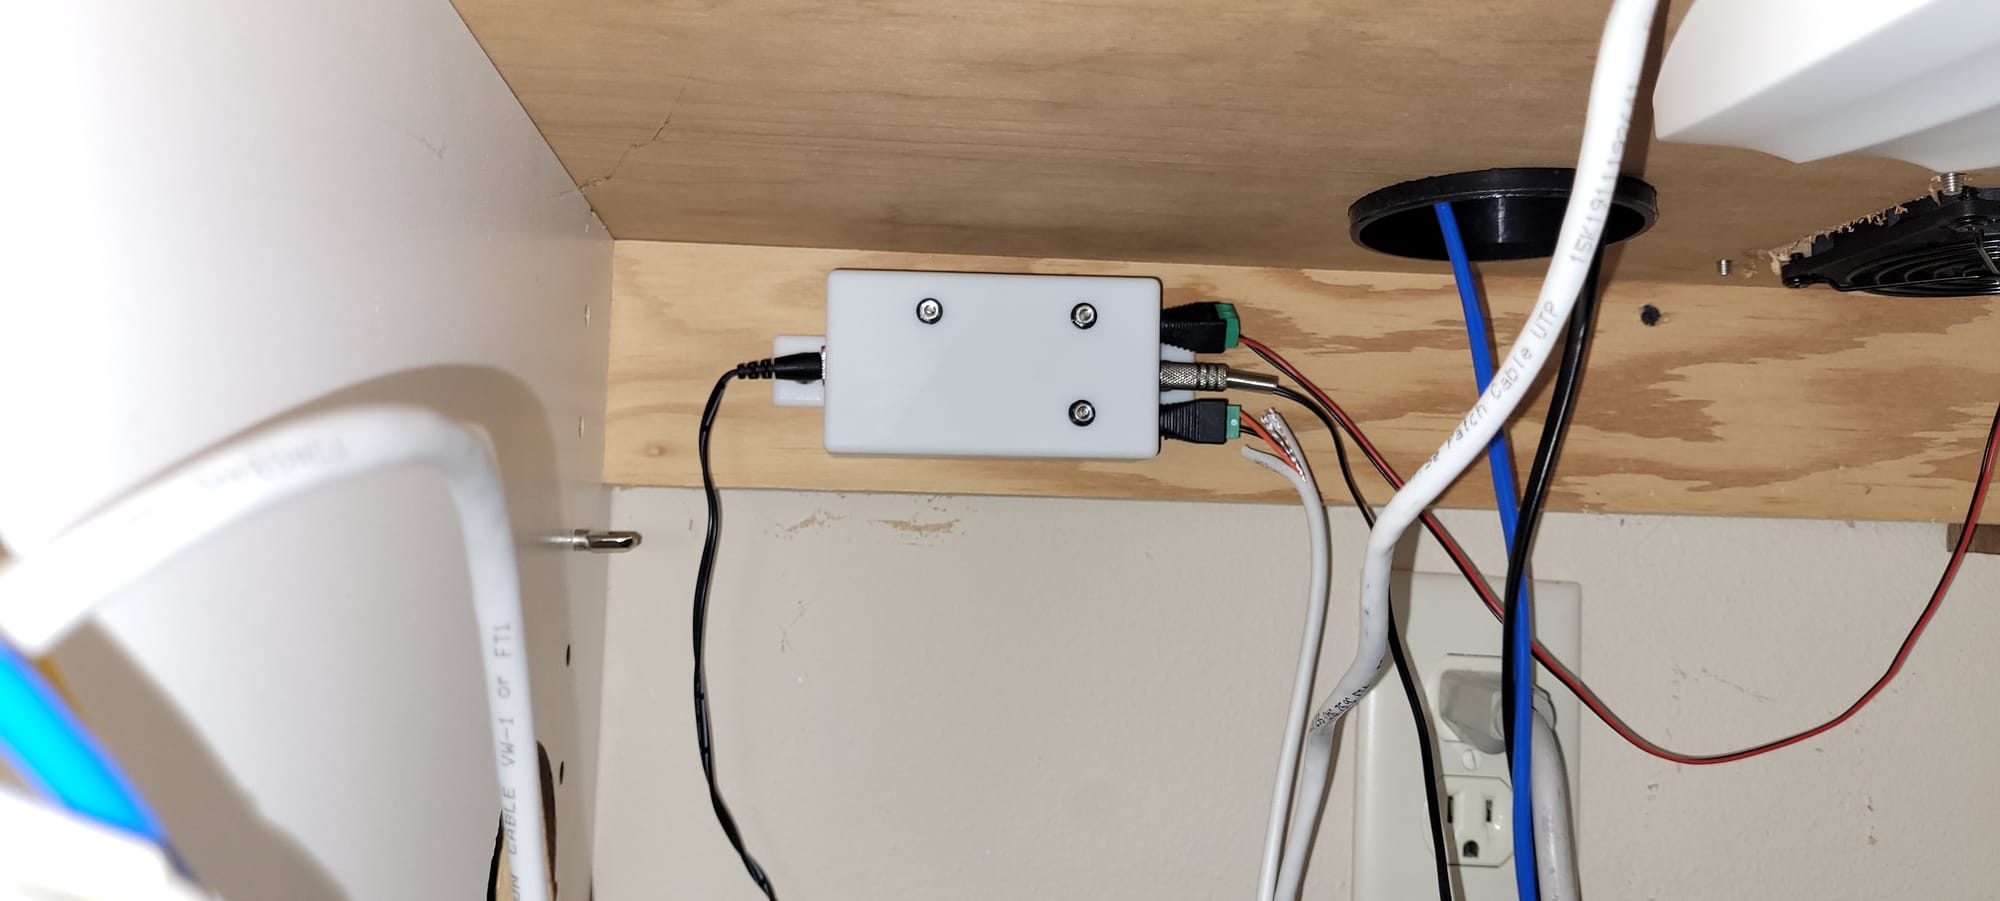
The assembled enclosure
The print feels much sturdier than the ones I've made myself. The surface looks and feels smooth because they offer inexpensive sanding. You can get fabrications using many technologies all the way up to laser metal sintering! If you've never seen it, search for videos of laser metal sintering online. It's very cool. Even on the cheaper side, there a numerous plastics available for various applications, they offer every fabrication method I can think of and twice as many I don't know anything about, and they'll even paint it for you if you want.
Frankly, with a service like this available at this price, I don't know how there's still a market for hobbyist 3D printers. Now that I know this is possible, I don't anticipate I'll ever 3D print anything myself again, but I do anticipate finding many more opportunities to use custom 3D printed objects for my projects.
As for my office workstation, I've achieved what I wanted. I no longer worry or even think about whether the cabinet might get too hot. The controller works perfectly, and I barely ever notice when the fans turn on.
